Hi music lovers today in this article we are going to see this 2.1 amplifier board and the connection details
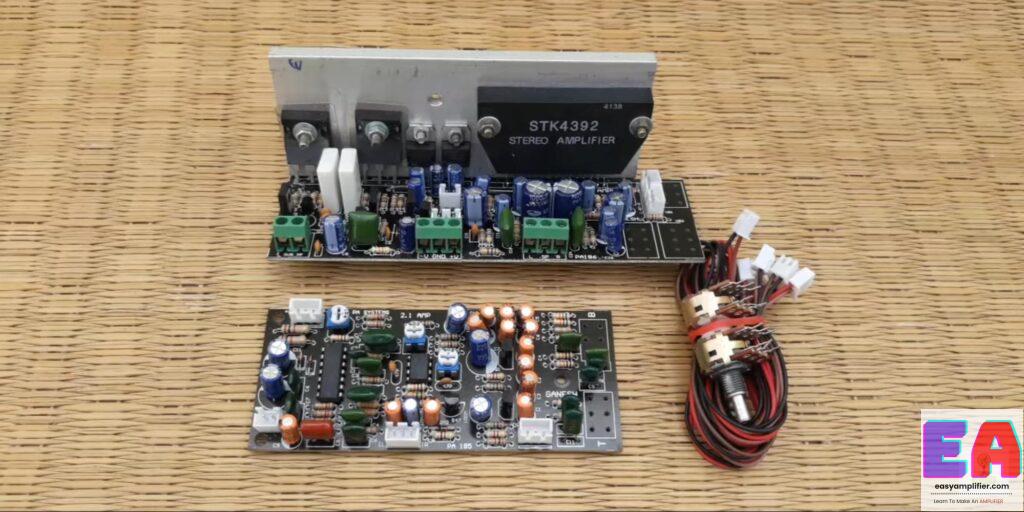
By using this board you can easily assemble a 2.1 amplifier with a 12v or 24v power supply. From this board, you can easily connect volume control. This board comes with inbuilt Audio connecting sockets so You don’t need to Solder each and every wire. So you can assemble this amplifier very quickly and simply. If you’re using this board for a 12v automotive vehicle then you can use a 12 to 24-0-24 (up to 36-036) dual supply inverter kit. Or if you are using this board for a 24v automotive vehicle then you can use a 24 to 24-0-24 (up to 36-036) dual supply inverter kit.
If you assemble this board for your home use then use a 24-0-24 5amps transformer.
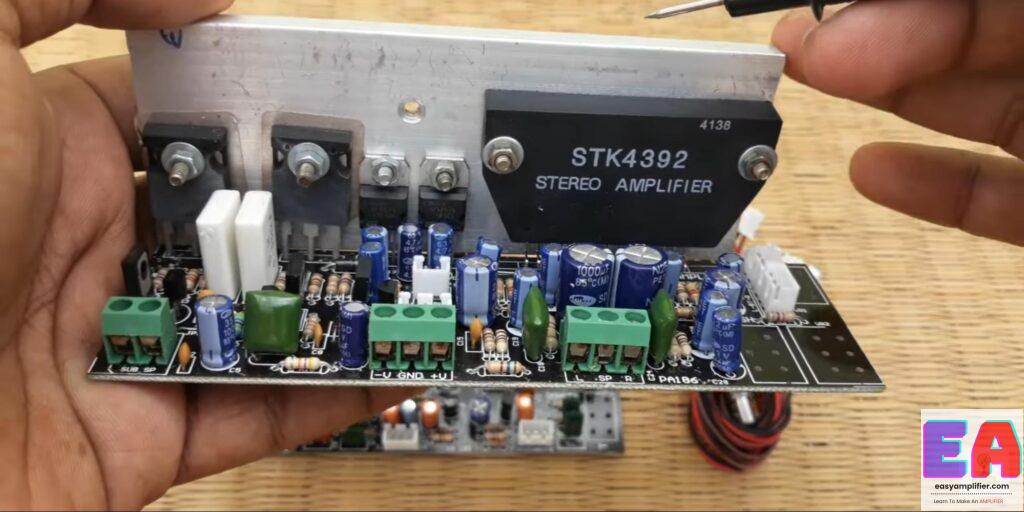
This is the power amplifier section. In this board, Stk 4392 ic is used for left and right Channel Audio. And two transistors for the subwoofer channel. You can use a minimum 4-inch to 6-inch speaker with a tweeter For the left and right channels and for the subwoofer,
you can use a minimum 8-inch to maximum 12-inch.
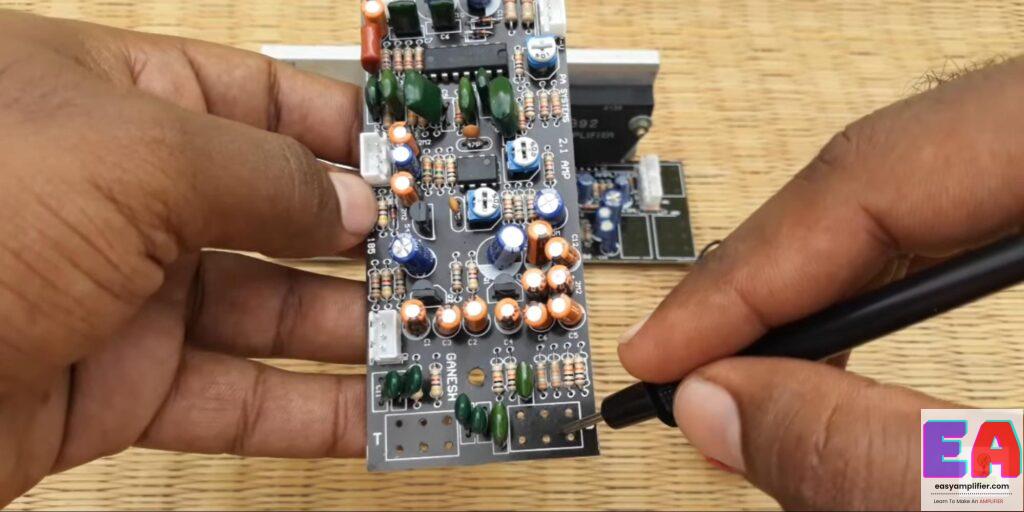
This is the 2.1 pre-section. This pre-board comes with 3 variable presets Two presets for the left and right volume gainer. And the one preset for the subwoofer gainer.
Now let’s see this 2.1 amplifier board input and output connection details
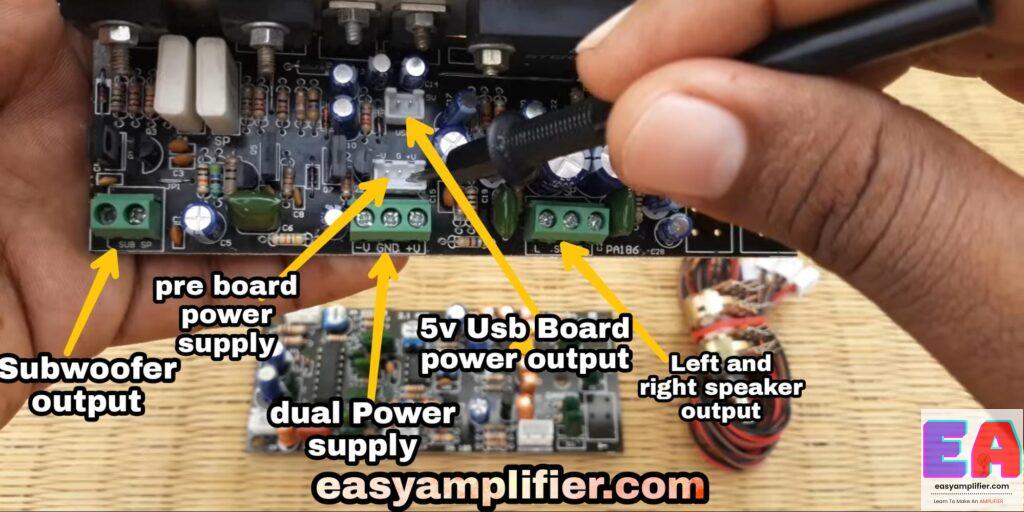
All the connections are Already mentioned in the PCB board…
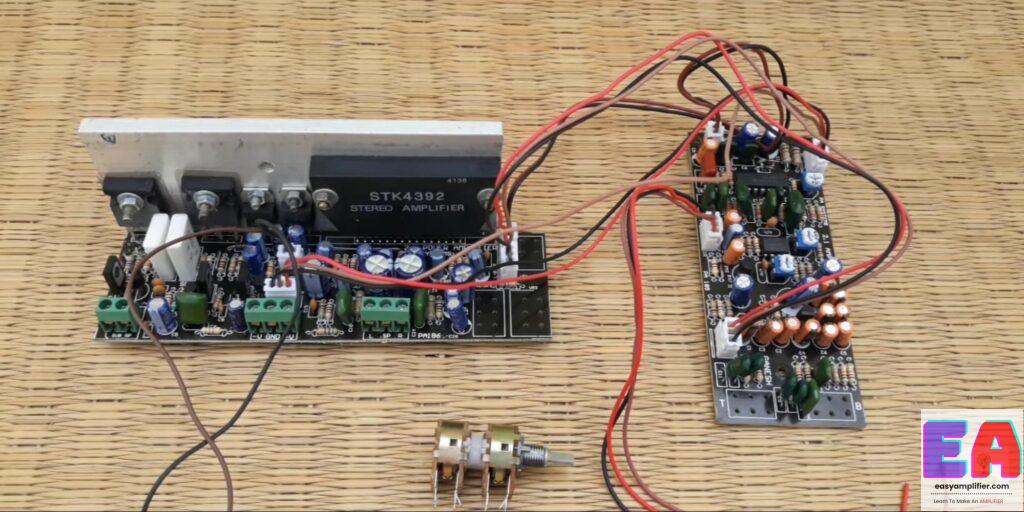
The rest of all Connections are easily done by rmc connector.
So that’s all friends, if you want this board you can ask me through my WhatsApp and Facebook…
If you have any doubts about this board you can ask me in the comment section below…

